Adding Licenses and Assigning Them to a Created Controller
- In the “Solutions” menu, click the “Configuration” menu item.
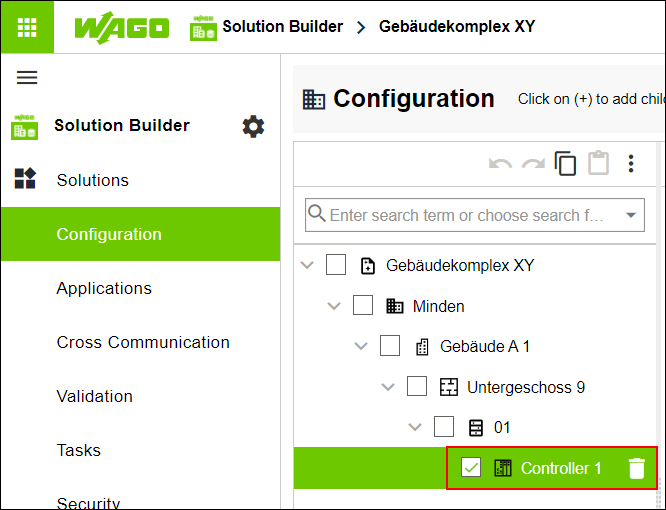
- Create a “Controller” entity in the tree structure.
- Select the “CONNECTION” tab.
- Enter the IP address of your existing controller in the “IP Address” input field.
- Click the “Licensing” menu item in the “Solutions” menu.
- Select the “LICENSE REPOSITORY” tab.
- Click [Add Licenses].
- Enter the licenses that you need for your project.
- Click [Add Licenses].
- The entered licenses are added to the license repository of the operating system being used and are then available in the WAGO Solution Builder software.
- Click [Check Connection].
- The WAGO Solution Builder software checks whether the WAGO license server can be reached via the Internet. If the license key is valid, the connection is established automatically.
- Select the “SOLUTION LICENSES” tab.
- Check the “Show All Controllers” box.
- Select the corresponding controller.
- Click [Assign] and assign the added licenses to the created controller.
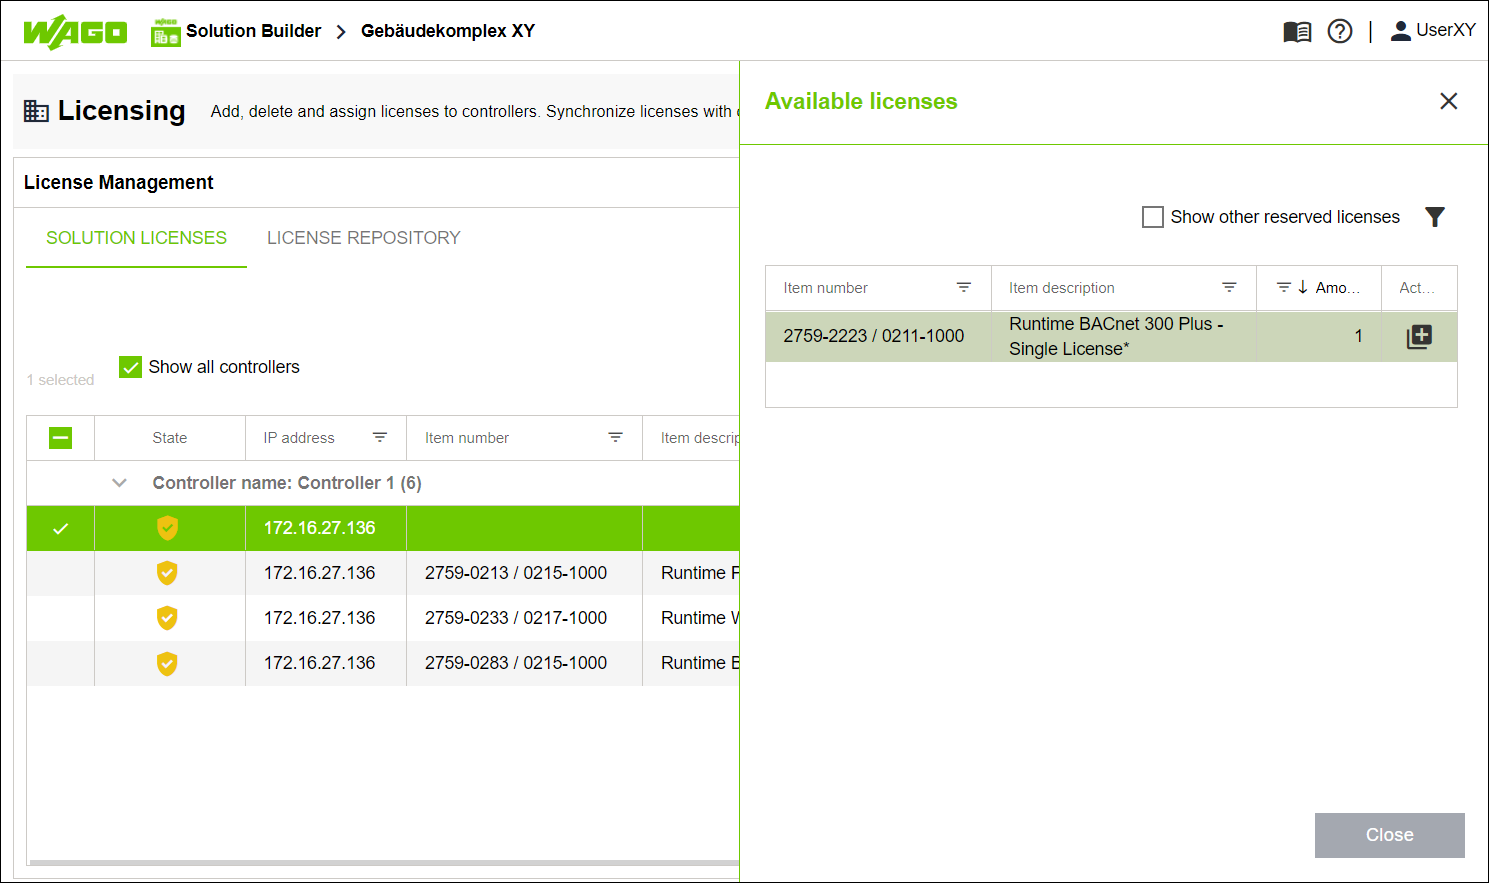
- Click [Close].
- Click [Synchronize].
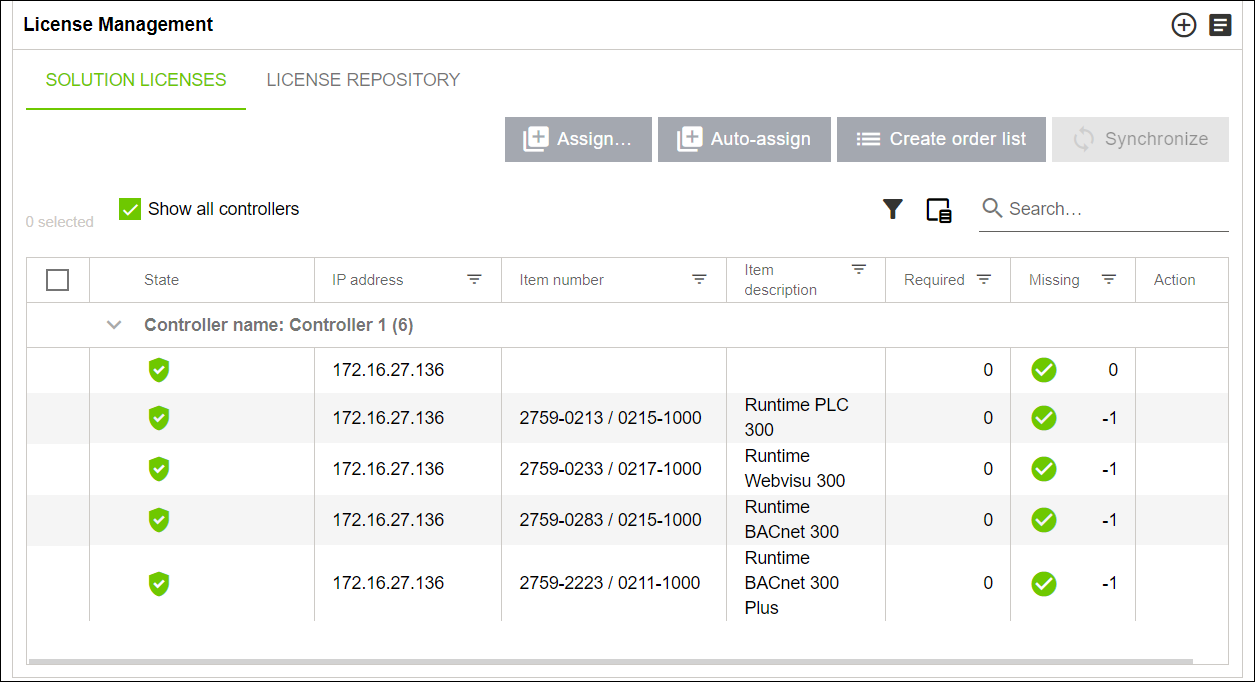
- The license information is synchronized between the solution and the controller.
- In the controller’s Web-Based Management, the added licenses appear on the “Fieldbus” tab, “Status” menu item.