Modbus Cross-Communication: Activating Different Port Numbers in the Controller Firewall
- An Application template needs to have been created in the WAGO Solution Builder Plug-in software to allow Modbus cross-communication.
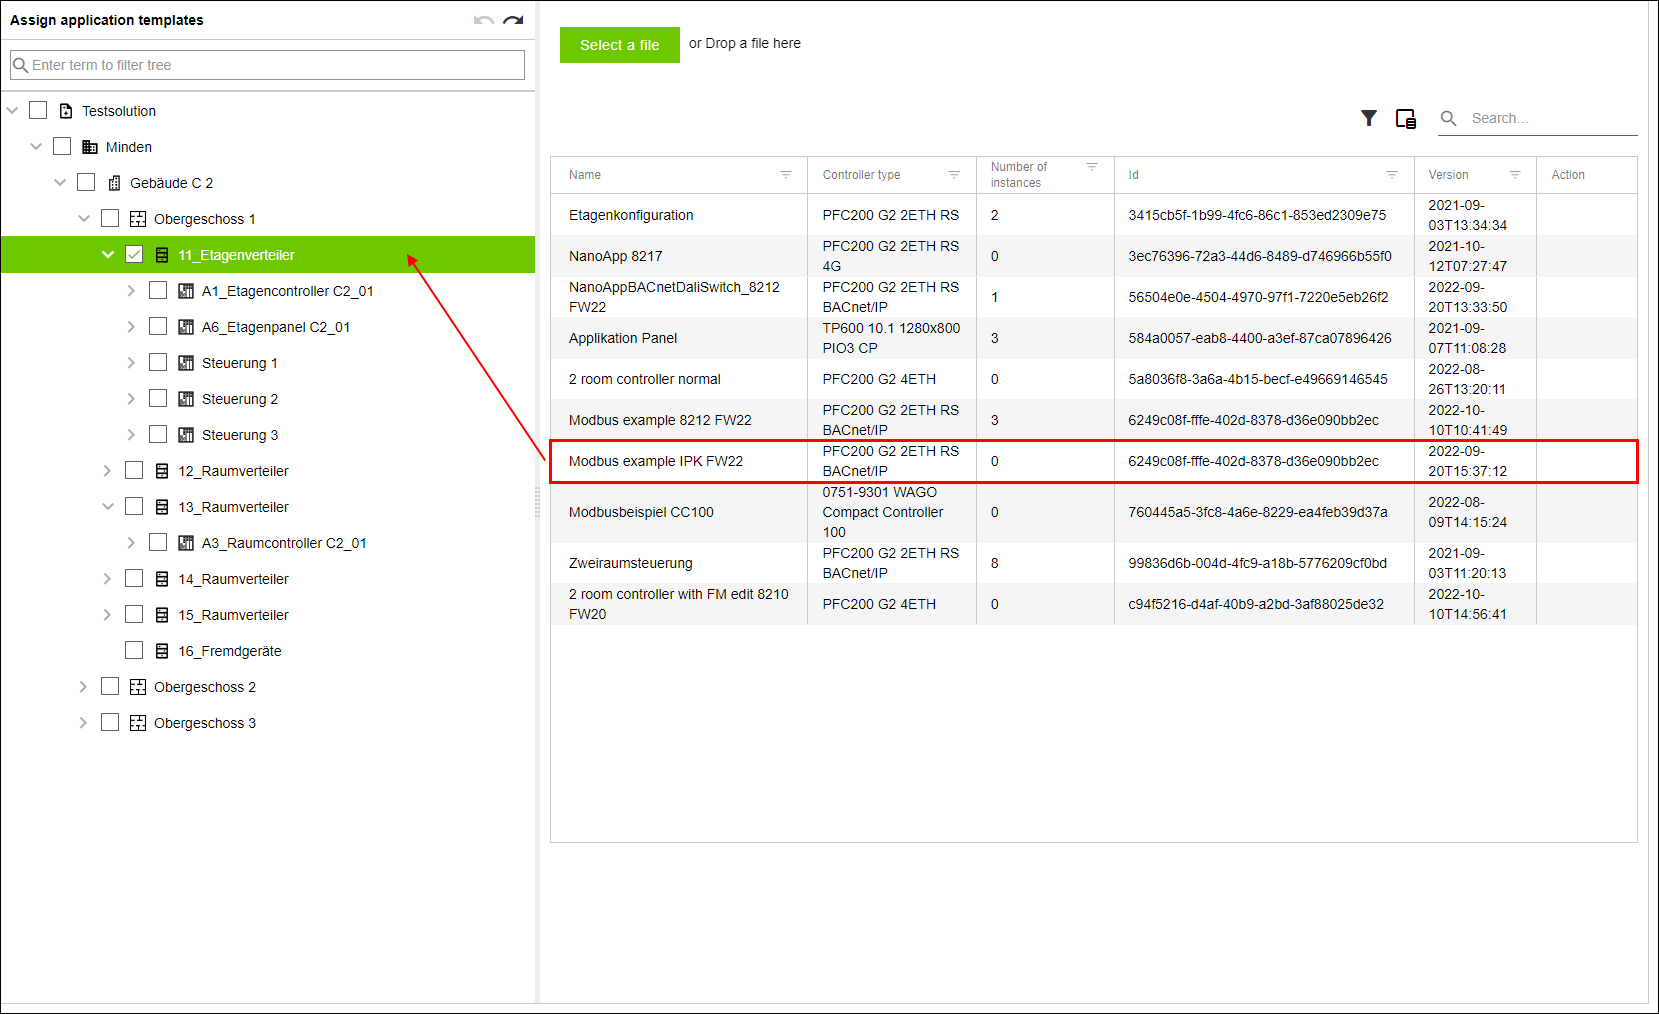
- The Application template must be available as an .atpkg file.
- Select the “Applications” menu item.
- Click [Select File].
- Upload the Application template as an .atpkg file.
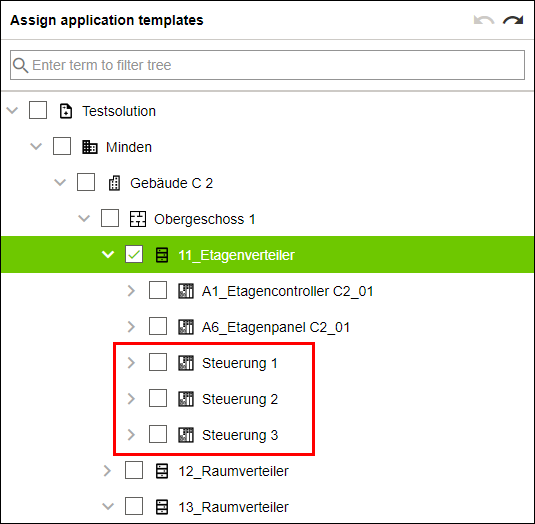
- Drag and drop the Application template to assign it to a higher-level entity of type “Controller” (for example, “Floor distributor”).
- An additional entity of type “Controller” is created each time a new assignment is made by dragging and dropping.
- Repeat step 4 two times in a row to create a total of three entities of type “Controller.”
- Select the “Cross-communication” menu item.
- Configure two cross-communication links for the three new entities of type “Controller” (see 8 Configuring Cross-Communication).
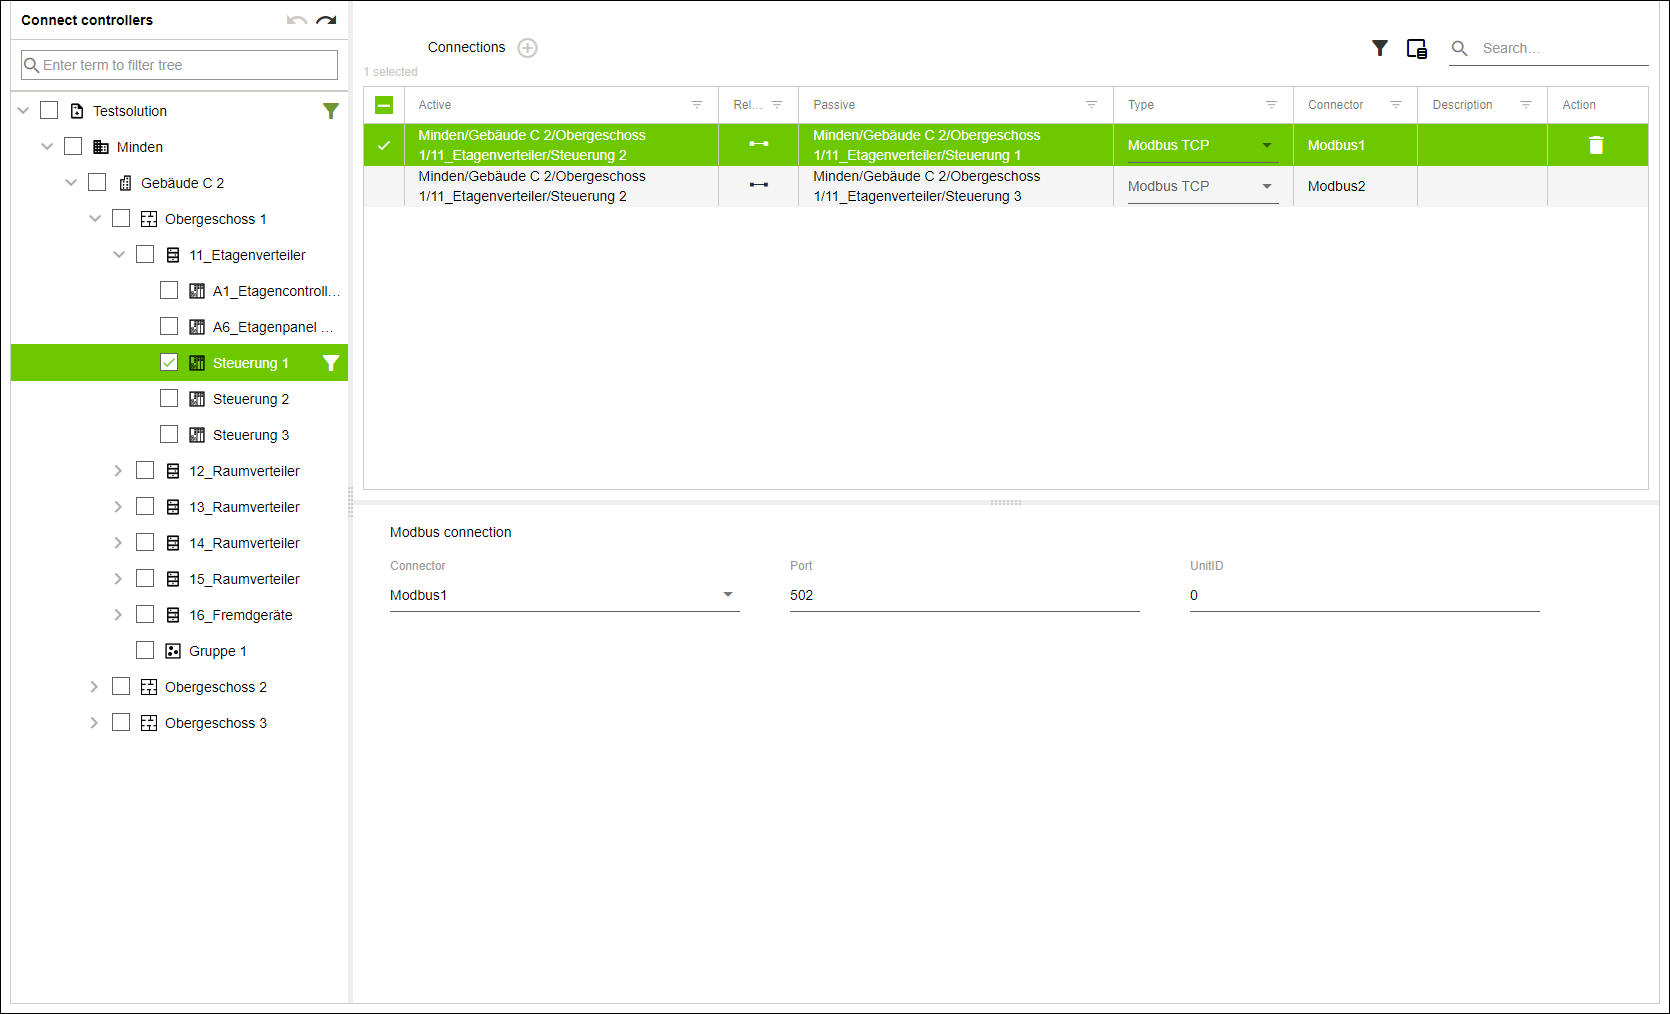
- For each cross-communication link, select Modbus TCP from the “Type” drop-down menu.
- From the “Connector” drop-down menu, select a connector for each cross-communication link you defined in the WAGO Solution Builder Plug-in software.
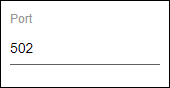
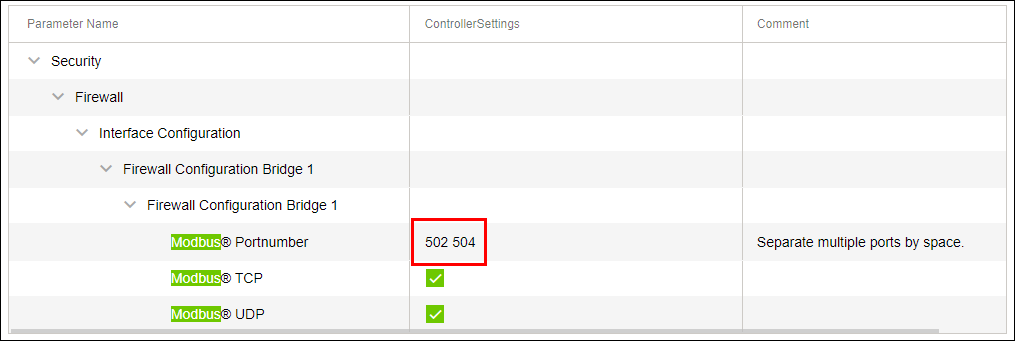
- Assign a unique port number for each cross-communication link. These port numbers must be different.

- Select the “Configuration” menu item.
- In the tree structure, select one of the newly created entities of type “Controller.”
- Select the “CONTROLLER“ tab.
- Select the “WBM – Web-Based-Management” item.
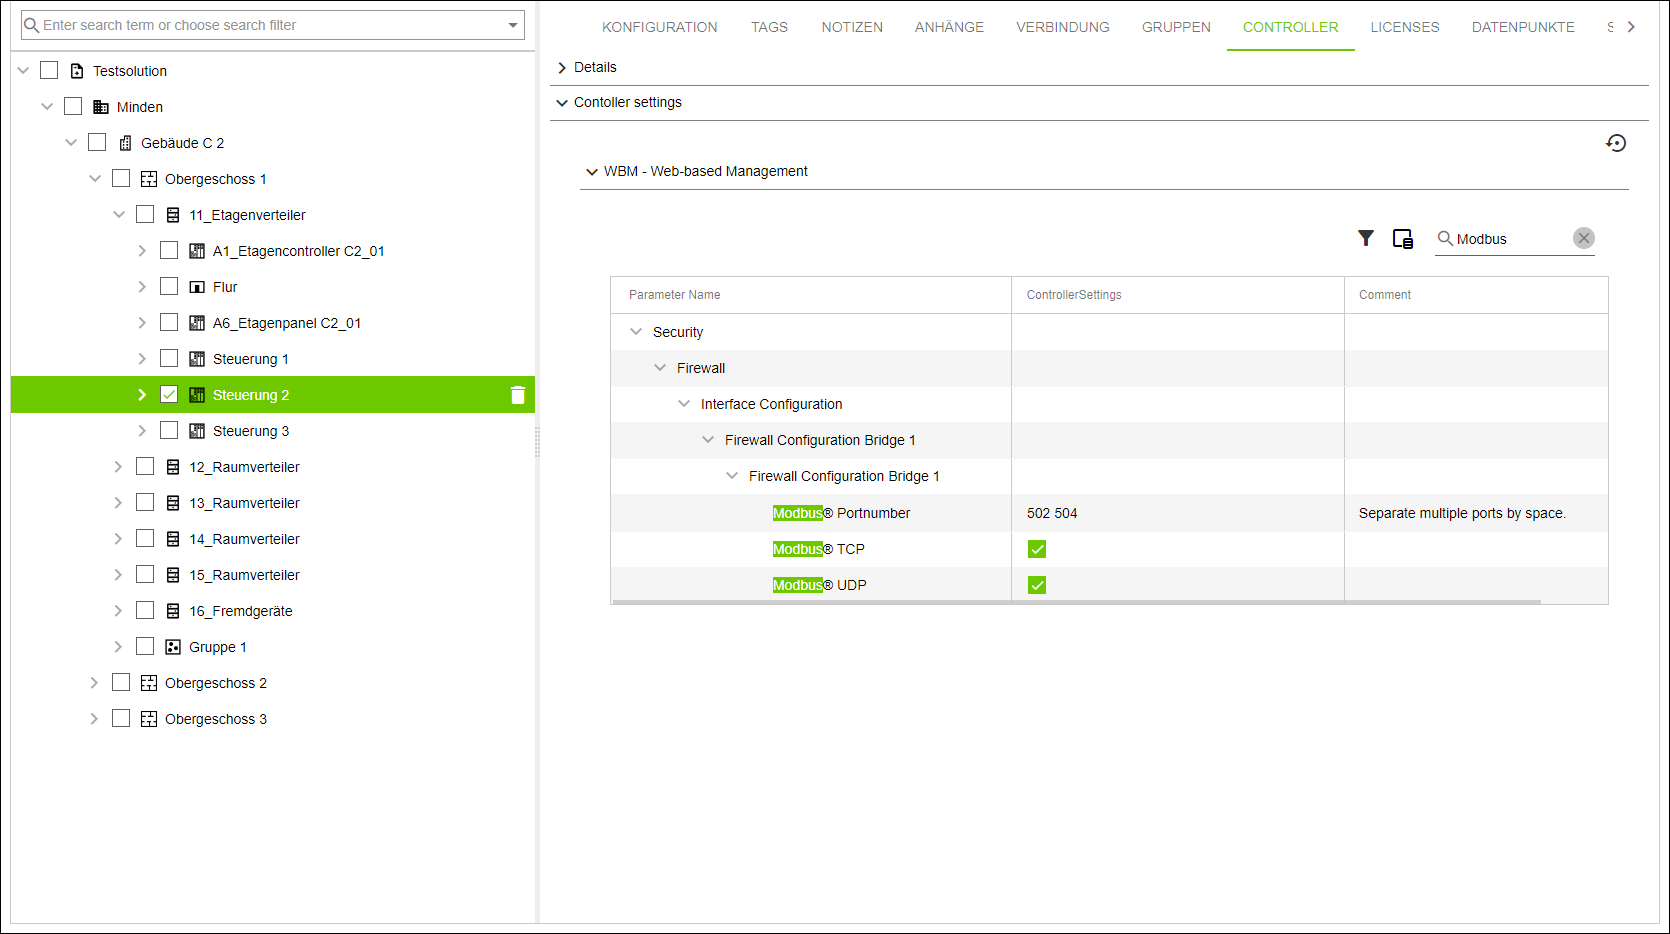
- Verify that the assigned port numbers are listed under “Controller Settings.”
- The assigned port numbers will be activated the next time the controller firewall is synchronized.