Adding Devices in the Project
If there are imported devices in the Product Catalog (see Importing Devices), they can be used as follows.
Note: Compare the firmware version between the device and the configuration!
For the offline configuration described here, note that you add devices from the product catalog with the current firmware version by default. However, if you want to connect to your device at a later time, the firmware version of the configured device must match the firmware version of the device.
- Therefore, first identify the firmware version of your device, e.g., via the Web-Based Management system.
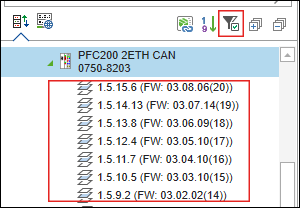
- In the product catalog, click the filter icon “Show available versions”.
- Compatible device descriptions and firmware versions are displayed in the tree structure below the respective device.

- Instead of the current default version, select the identified firmware version of the device that is actually in use from the list. Use this firmware version in your project.
Network view
- To add devices to a project, drag the individual devices (in this example, a PFC200) from the Product Catalog and drop them onto a free tile in Network view (Communication view).

- To place devices on a free tile automatically, double-click the device name.
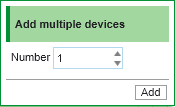
- To insert a device several times click the Add symbol next to the device name. In the opened window enter the number of devices you wish to insert and click [Add].

Note: The dialog displays an incompatibility if the project-global compiler version or the visualization profile is not compatible with the device currently selected when you add it. Adjust the versions as needed (see Adjusting the Compiler/Visualization Profile).
Device Detail view
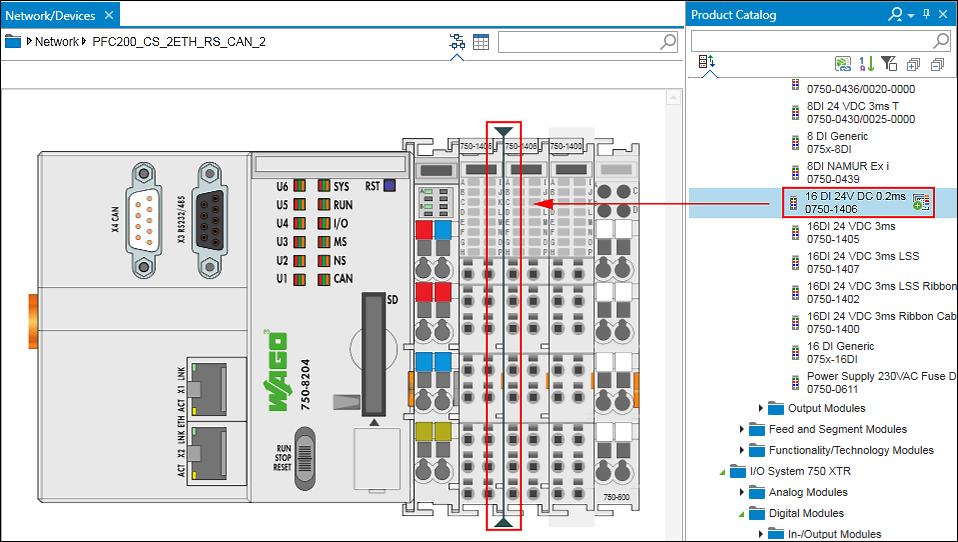
- Open the Device Detail view by double-clicking an appropriate tile. Drag the I/O modules from the product catalog to any position after the head station.

This will display a [+] next to the mouse pointer. Positioning lines between existing I/O modules indicate at what point the I/O module will be placed when you release the mouse button. Alternatively, the I/O module can also be added by double-clicking it from the Product Catalog behind the currently selected I/O module or at the last location.
The Device detail view only allows the configuration of one head station with connected I/O modules.
 Note
Note
Note on the use of complex I/O modules
Note that I/O modules are always inserted with their default operating mode both when adding them from the product catalog and when scanning them on the network. If you use complex I/O modules with adjustable process data/mailbox size or different operating modes that do not correspond to the default setting, then configure process data/mailbox size/operating modes via the "Settings" control panel. You thus ensure that the existing configuration of the I/O module is also used in e!COCKPIT. Only then make further communication settings in the data point configurator and fieldbus configurator.